Check out our White Paper Series!
A complete library of helpful advice and survival guides for every aspect of system monitoring and control.
1-800-693-0351
Have a specific question? Ask our team of expert engineers and get a specific answer!
Sign up for the next DPS Factory Training!

Whether you're new to our equipment or you've used it for years, DPS factory training is the best way to get more from your monitoring.
Reserve Your Seat TodayDPS clients sometimes struggle with rack space in small cabinets where the revenue-generating equipment already takes up a lot of space. If you have a small site, it might be that you don't have any rack space left at all.
In these situations, you need to know how to maximize the space you already have. After all, not having monitoring equipment is not an option. Optimizing the rack spaces available is important for scenarios like these as it avoids adding unnecessary complexity.

There are three main ways you can mount your RTU. They are:
Rack Mount
This is the most common option to mount monitoring equipment. Racks can be either 19 inches or 23 inches in width. Rack-mounted equipment needs rack ears to attach to the rack. Efficient use of rack spaces ensures better airflow and easier access during maintenance.
DIN Rail Mount
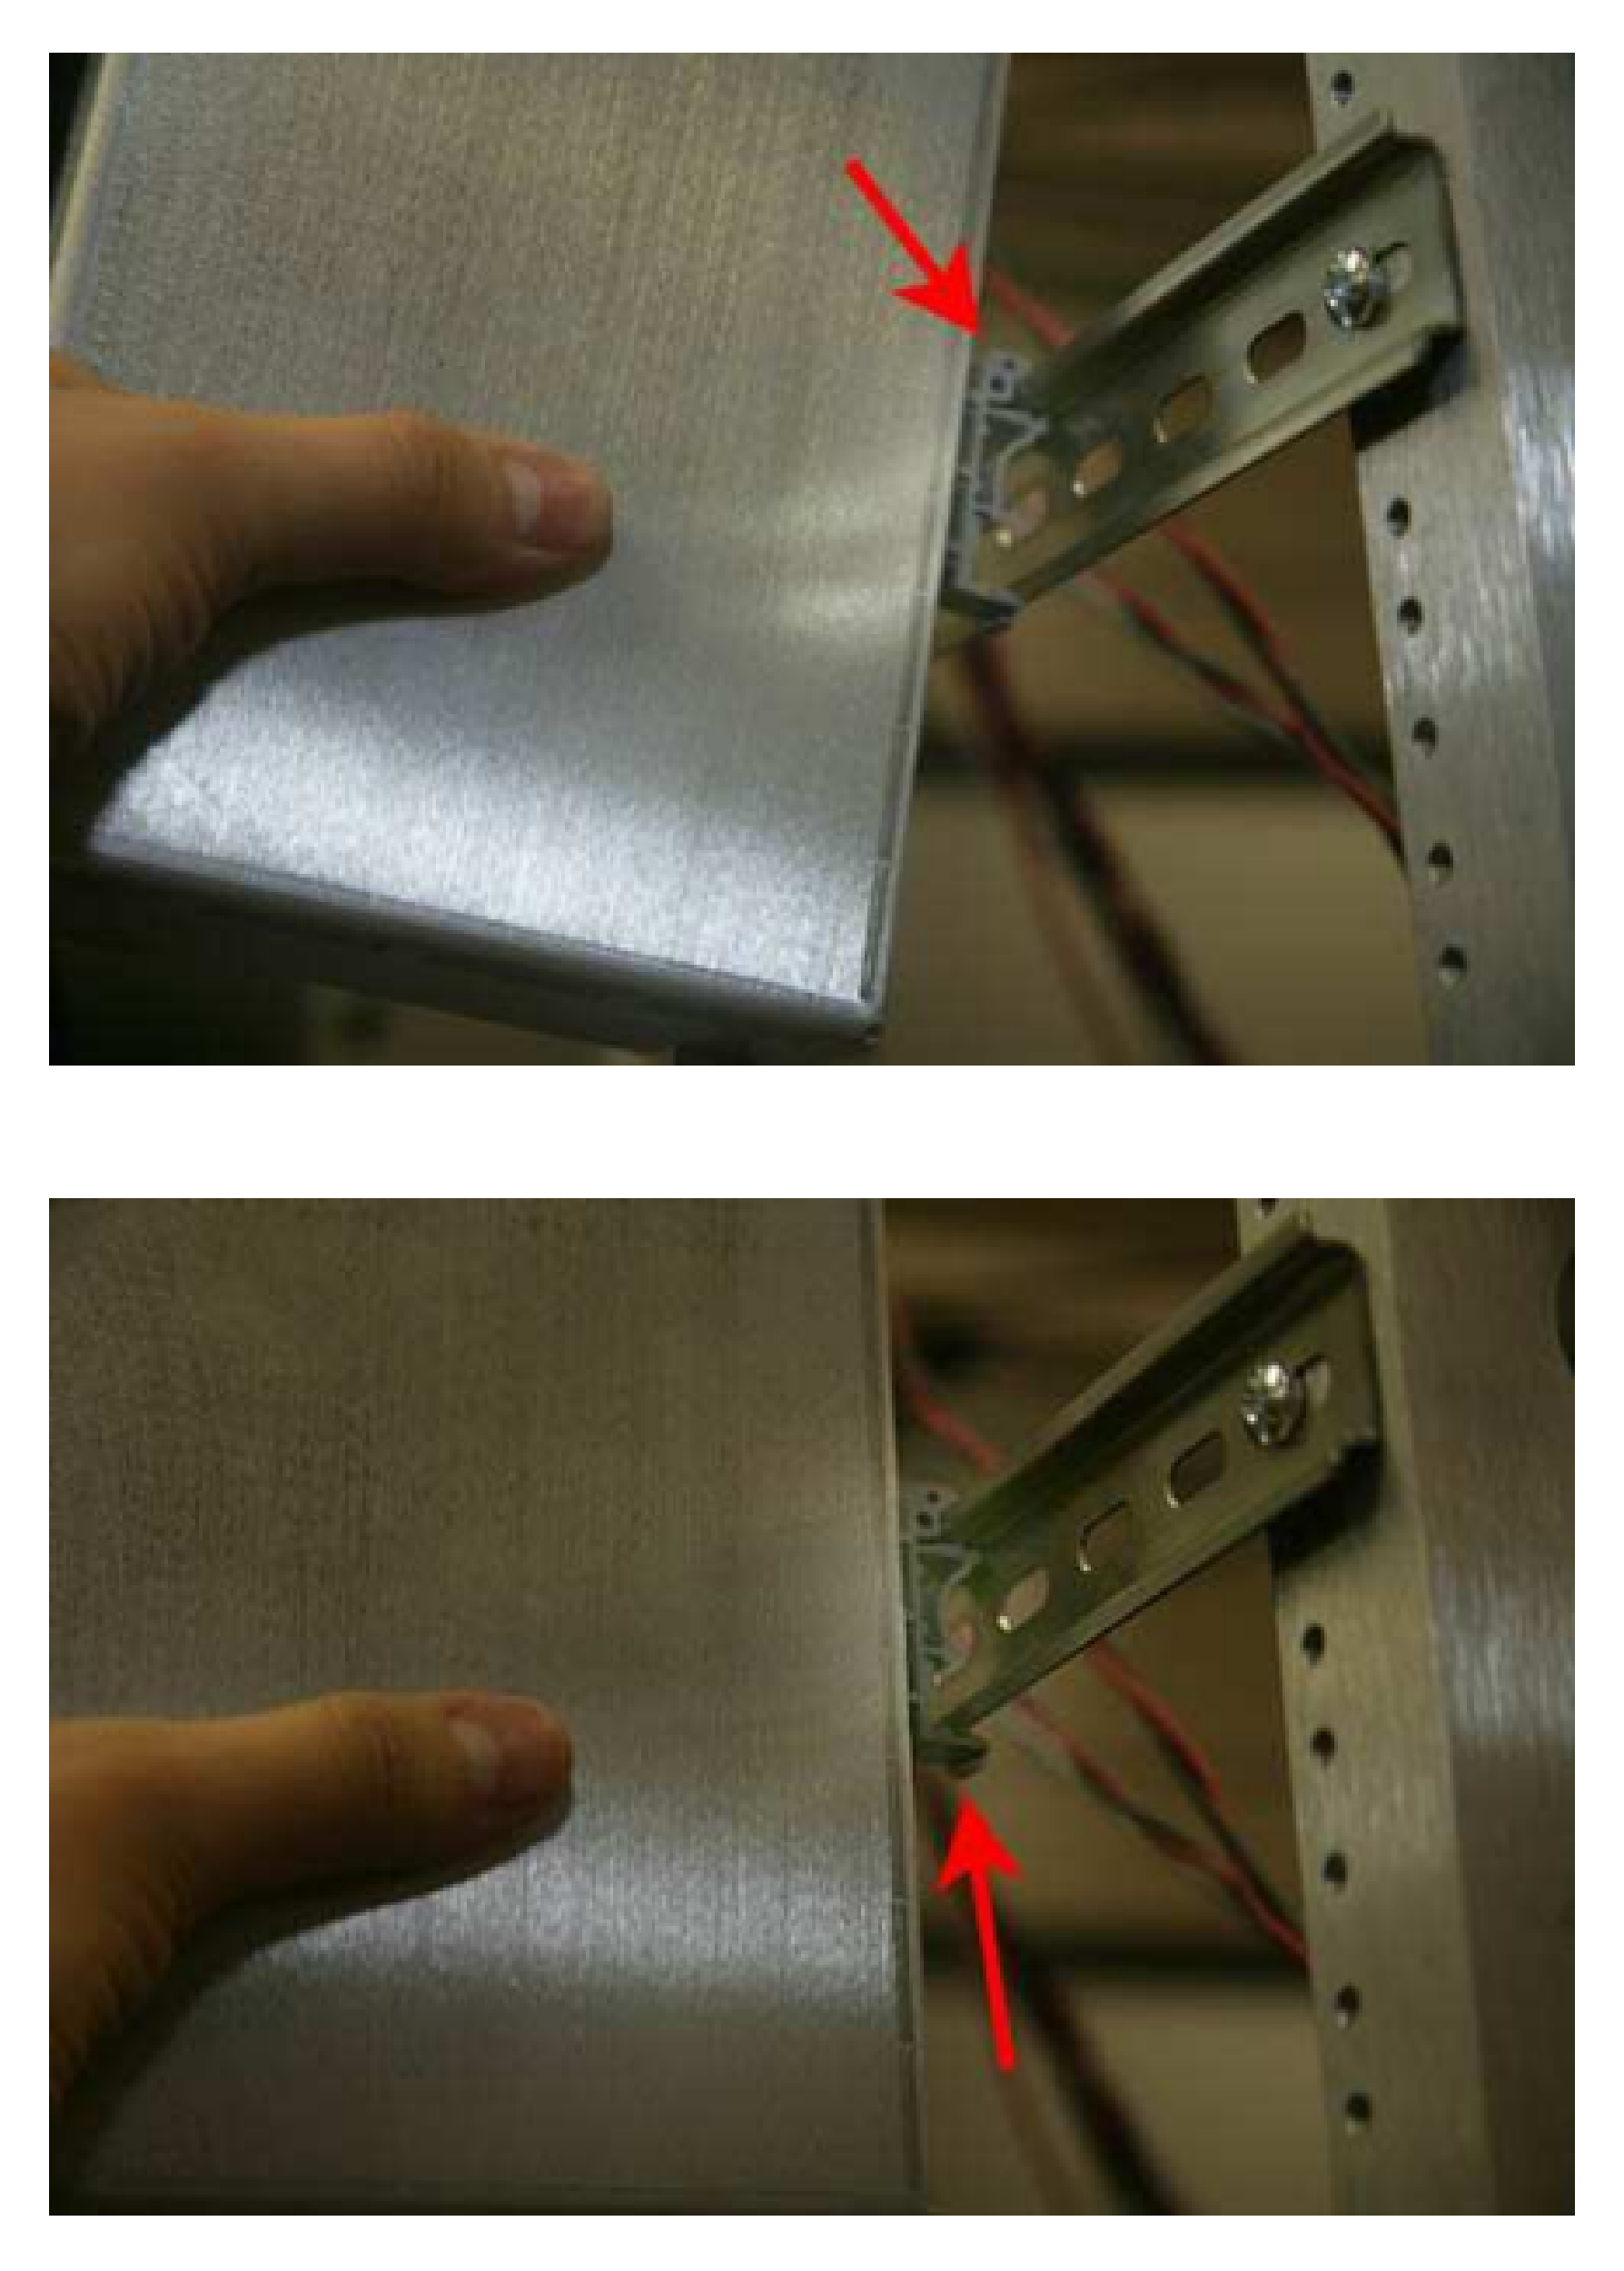
This is also another common way to mount your RTU. A DIN rail can be mounted to a wall or attached to a standard rack, either way, you will need extra hardware. This extra hardware will be special brackets that will mount devices to the DIN rail (imagine books on a shelf).
DIN mounting is more space-efficient than a simple rack mounting. DIN mounting makes better use of available rack spaces by allowing flexible configurations. It will require more space to start with, but you can place more than one device across it.
You can also wall mount your devices. In this option, you will use special brackets as well, but they allow you to mount your gear to virtually any flat surface that accepts screws. This is a perfect alternative when rack spaces are entirely occupied. If you don't have any rack space left, wall mounting will allow you to place your gear inside of a cabinet door. Also, you can mount the device to any wall.
Another advantage of this method is that wall-mounted electronic equipment makes it easier to access wires in both front and back ports. After wall-mounted, front and back ports become top and bottom ports - this is why they are easy to reach.
Rack server dimensions are a significant factor in cabinet planning for operational efficiency. A standard rack unit (RU) measures 1.75 inches in height, but equipment comes in various sizes, such as 1U, 2U, and 4U, each offering different performance capabilities and storage capacities. Planning for the right amount of rack spaces involves understanding these dimensions thoroughly.
Selecting the correct rack size ensures that your IT infrastructure maximizes available space while maintaining proper airflow for cooling and cable management.
A typical full rack measures 42U or just about 6 feet worth of equipment. Proper management of these rack spaces can prevent overcrowding and overheating.
By paying attention to rack server dimensions and optimizing rack spacing, businesses can also build scalable, efficient IT environments that support growth without disruption.
In some cases, large rooms that were once necessary for a big physical piece of gear, such as a telephone switch, can be replaced with just a small software box. This results in having plenty of rack space available for remote monitoring equipment and other gear.
Auxiliary equipment, like PDUs, can be available in 0RU models that mount to the side of the rack or otherwise stay out of the way and don't use rack space.
Other than struggling with rack space in small cabinets, many of our clients have ventilation as an issue. To solve this issue, we recommend that you try to leave space open for air to flow. So, don't completely fill up your rack space.
Cable management is also important for the organization and airflow. Different wire termination is more secure (wire wrap) than others (flip-lock terminals). Protecting wires and connectors from someone accidentally brushing against them and pulling out wires is important. Well-organized cabling also helps optimize rack spaces by reducing clutter. Use physical protectors when possible.
Good remote monitoring using NC (Normally Closed) configuration will "self-monitor" and know when wires have been disconnected. This technology can help you avoid costly disruptions while effectively utilizing rack spaces.
To further optimize your rack space for maximum efficiency, consider these specific actions:
One of the most important rack space best practices is to make sure you are getting an RTU with the most capabilities possible in only 1U. This will ensure that you don't waste space on other equipment now or later on. Some main examples of RTUs that follow this best practice are:
The NetGuardian 864A maximizes rack space by supporting 64 discrete points, 8 analog inputs, and 8 control relays into only 1U of space.
This power distribution unit (PDU) also has remote telemetry functionality. It only takes 1U and allows you to control power to equipment while still providing 16 discrete alarms, 4 controls, and 2 analog inputs.
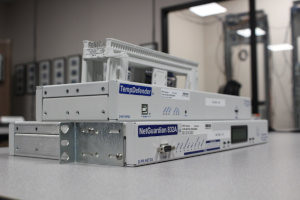
The TempDefender takes only 1U half-rack worth of space. It supports 16 analog sensors, so this is the best solution for you if you need maximum analog coverage. Placing 2 TempDefenders next to each other for 32 analog inputs only takes 1U space.
Maximizing your rack space is very important to keep your network efficiency. So, when looking for an RTU make sure it gives you the most alarms and features possible per 1U rack space.
If you think that is not an option for you because you have very specific needs, simply contact us. We specialize in creating custom RTUs that perfectly fit your rack spaces and requirements. We are a vertically integrated company, our engineers will be happy to design a new product to attend your specific requirements. Also, we have control over our production department to build any new product we develop.
Our application engineers are always here to help you with your questions or concerns regarding network alarming monitoring. Just give us a call. We may already have what you've been looking for.
All DPS Telecom products include comprehensive technical support. If you've purchased one of our products and are encountering any kind of issue, contact DPS Tech Support today at 559-454-1600.
At DPS Telecom, the representative who answers your call isn't an intern reading from a script. DPS Tech Support representatives are engineers who contribute to product development. And, if your problem requires additional expertise, the DPS Engineering Department that designed your product is right down the hall.
Help us connect you to the right engineer by filling out this quick questionnaire. Simply leave your contact information to get started, and we'll call you back. Most preliminary discussions are about 15 minutes, and afterward, we'll send you a custom application diagram of a recommended solution that'll make it easier to justify your project to management.